


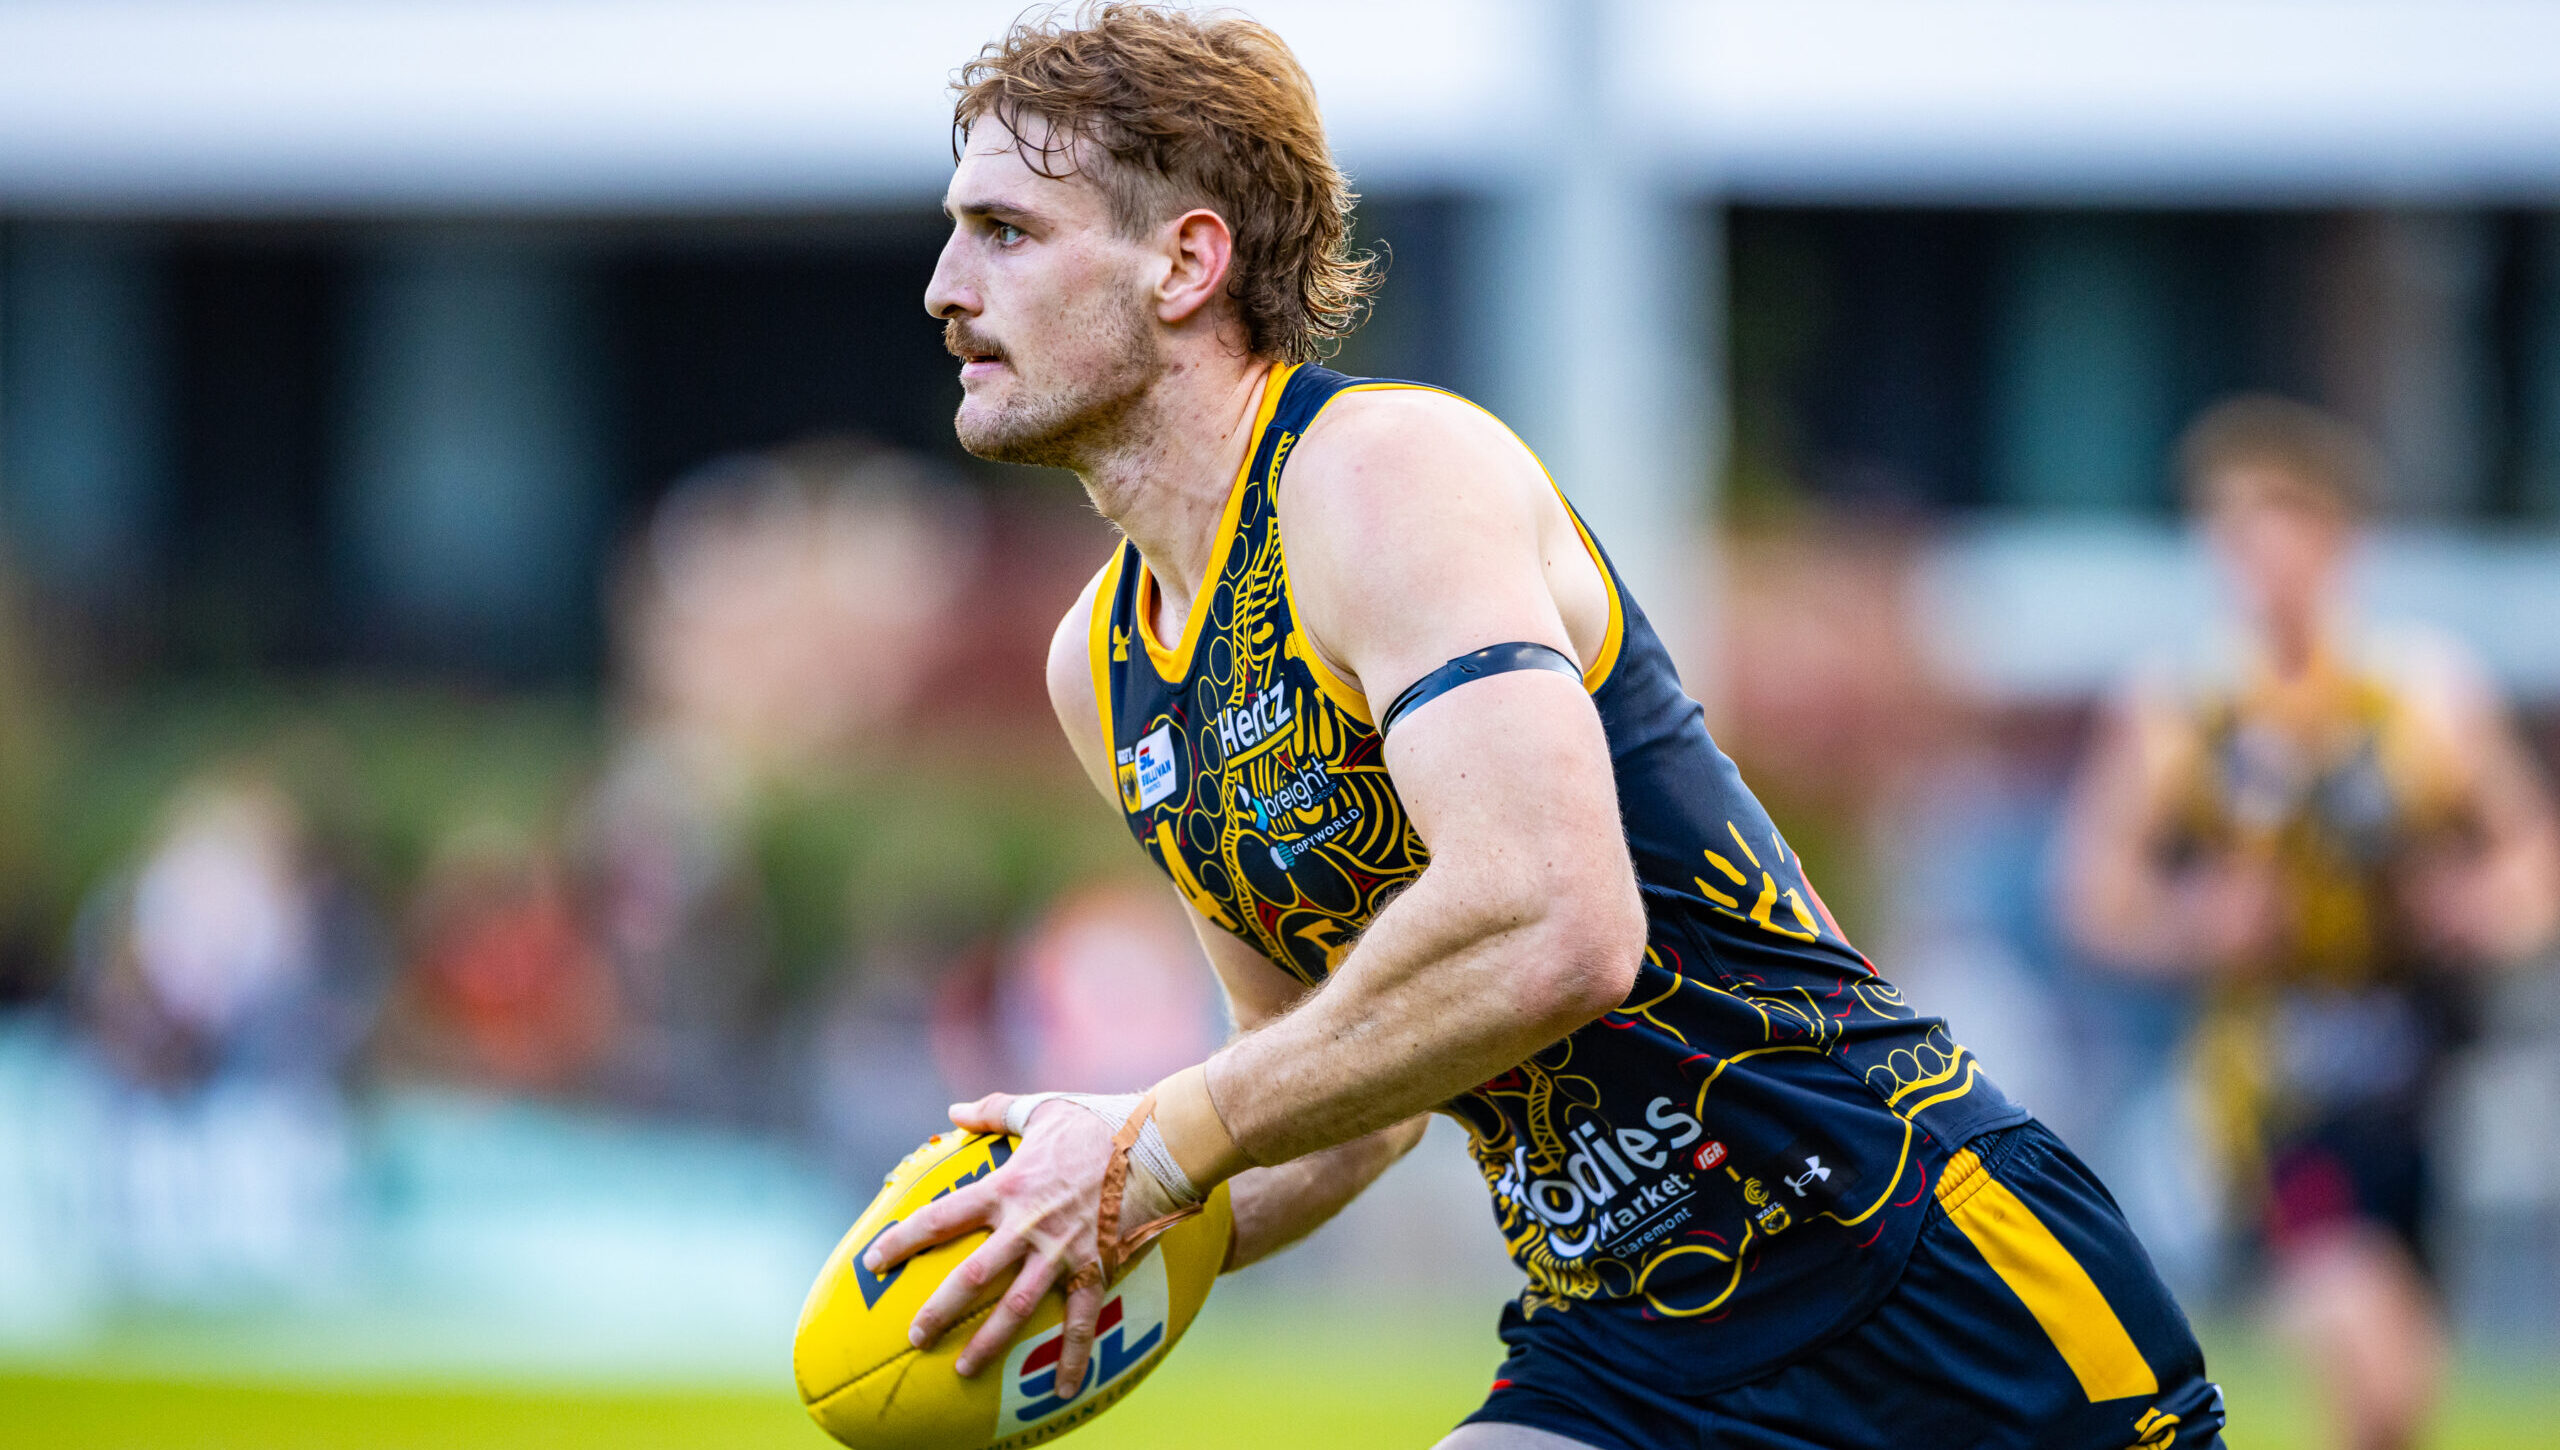


10 Things we Learned: Impressed debutants, WAFLW finals race heats up and moreJuly 26, 2026
We take a look at the talking points across the Sullivan Logistics WAFL, ATCO WAFLW and EGT WAFL Colts competitions...
Jordan McArdle
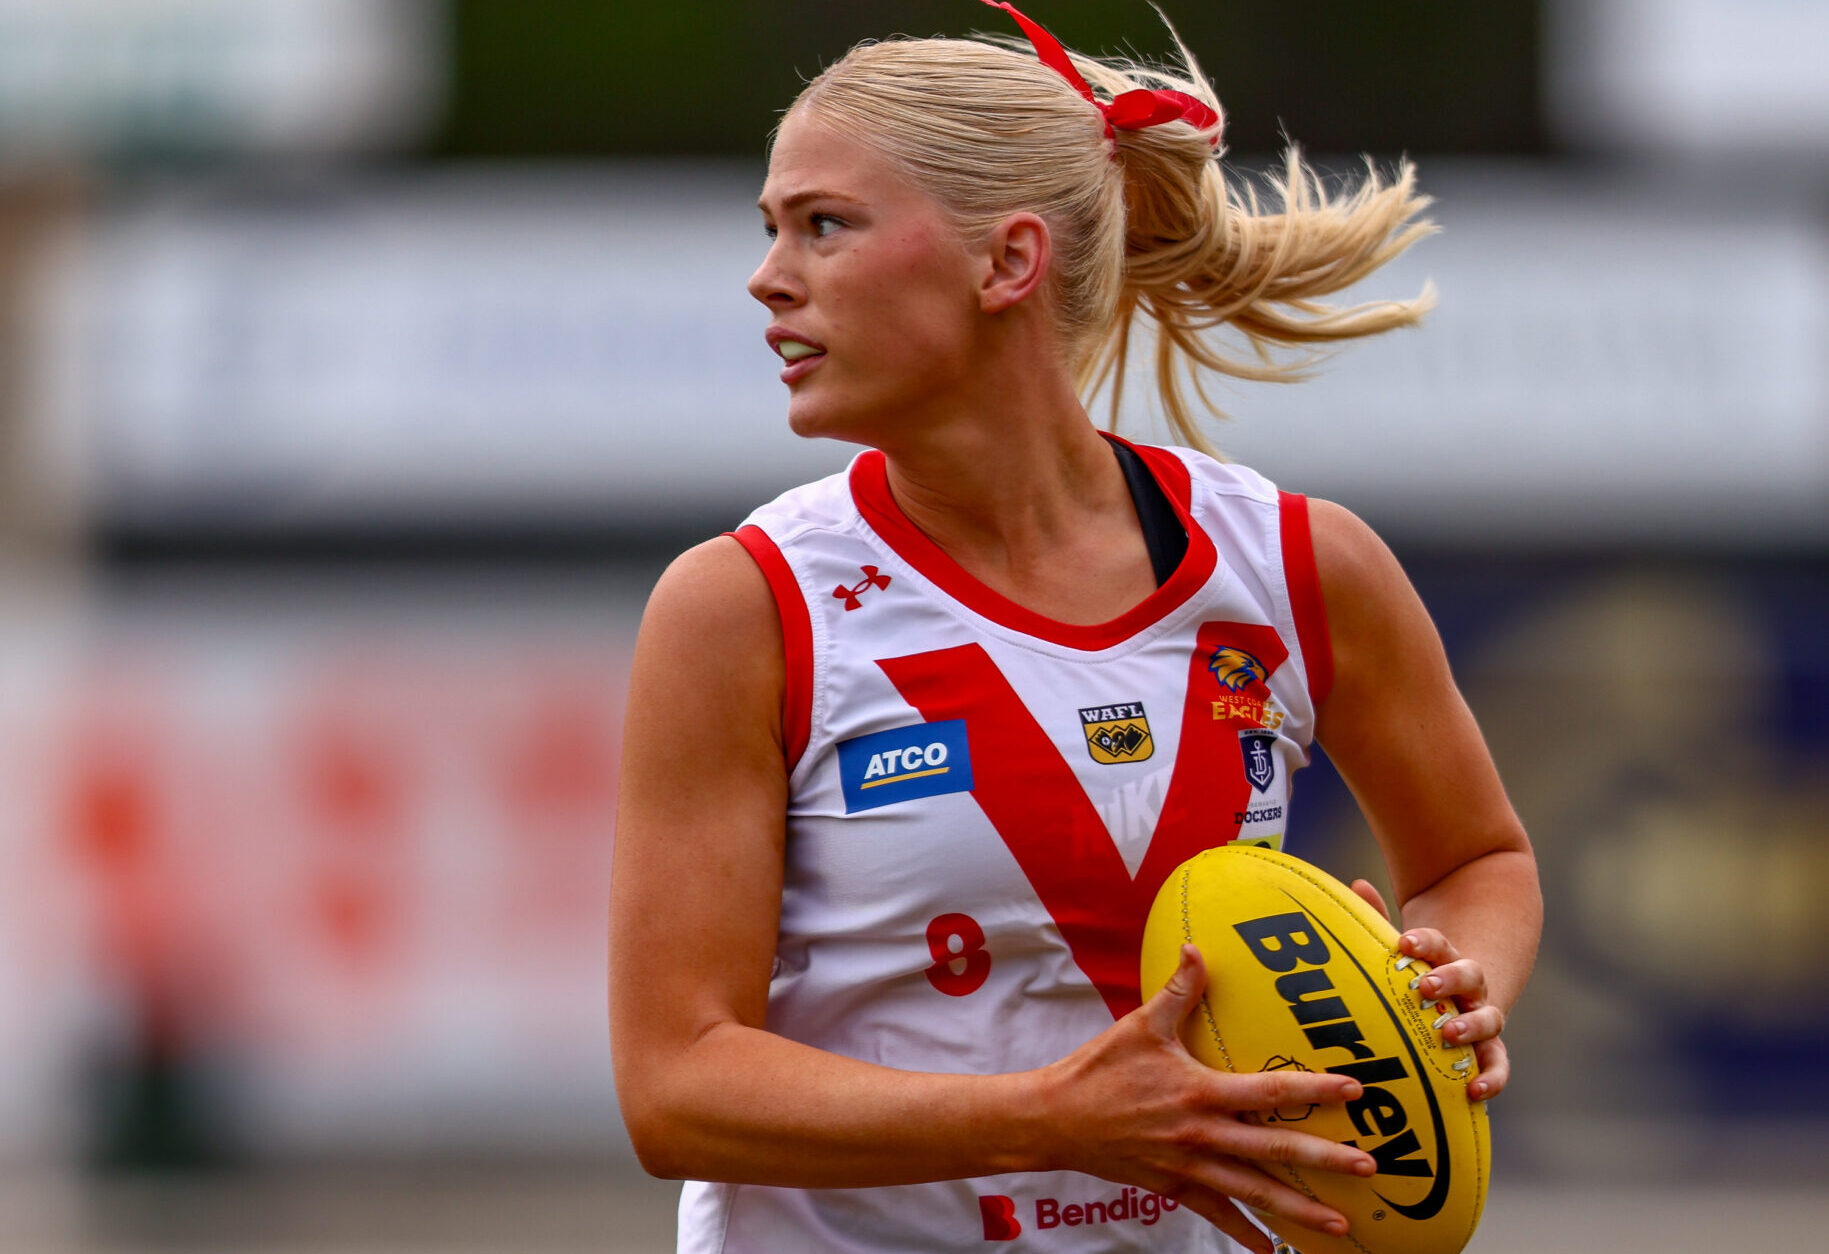
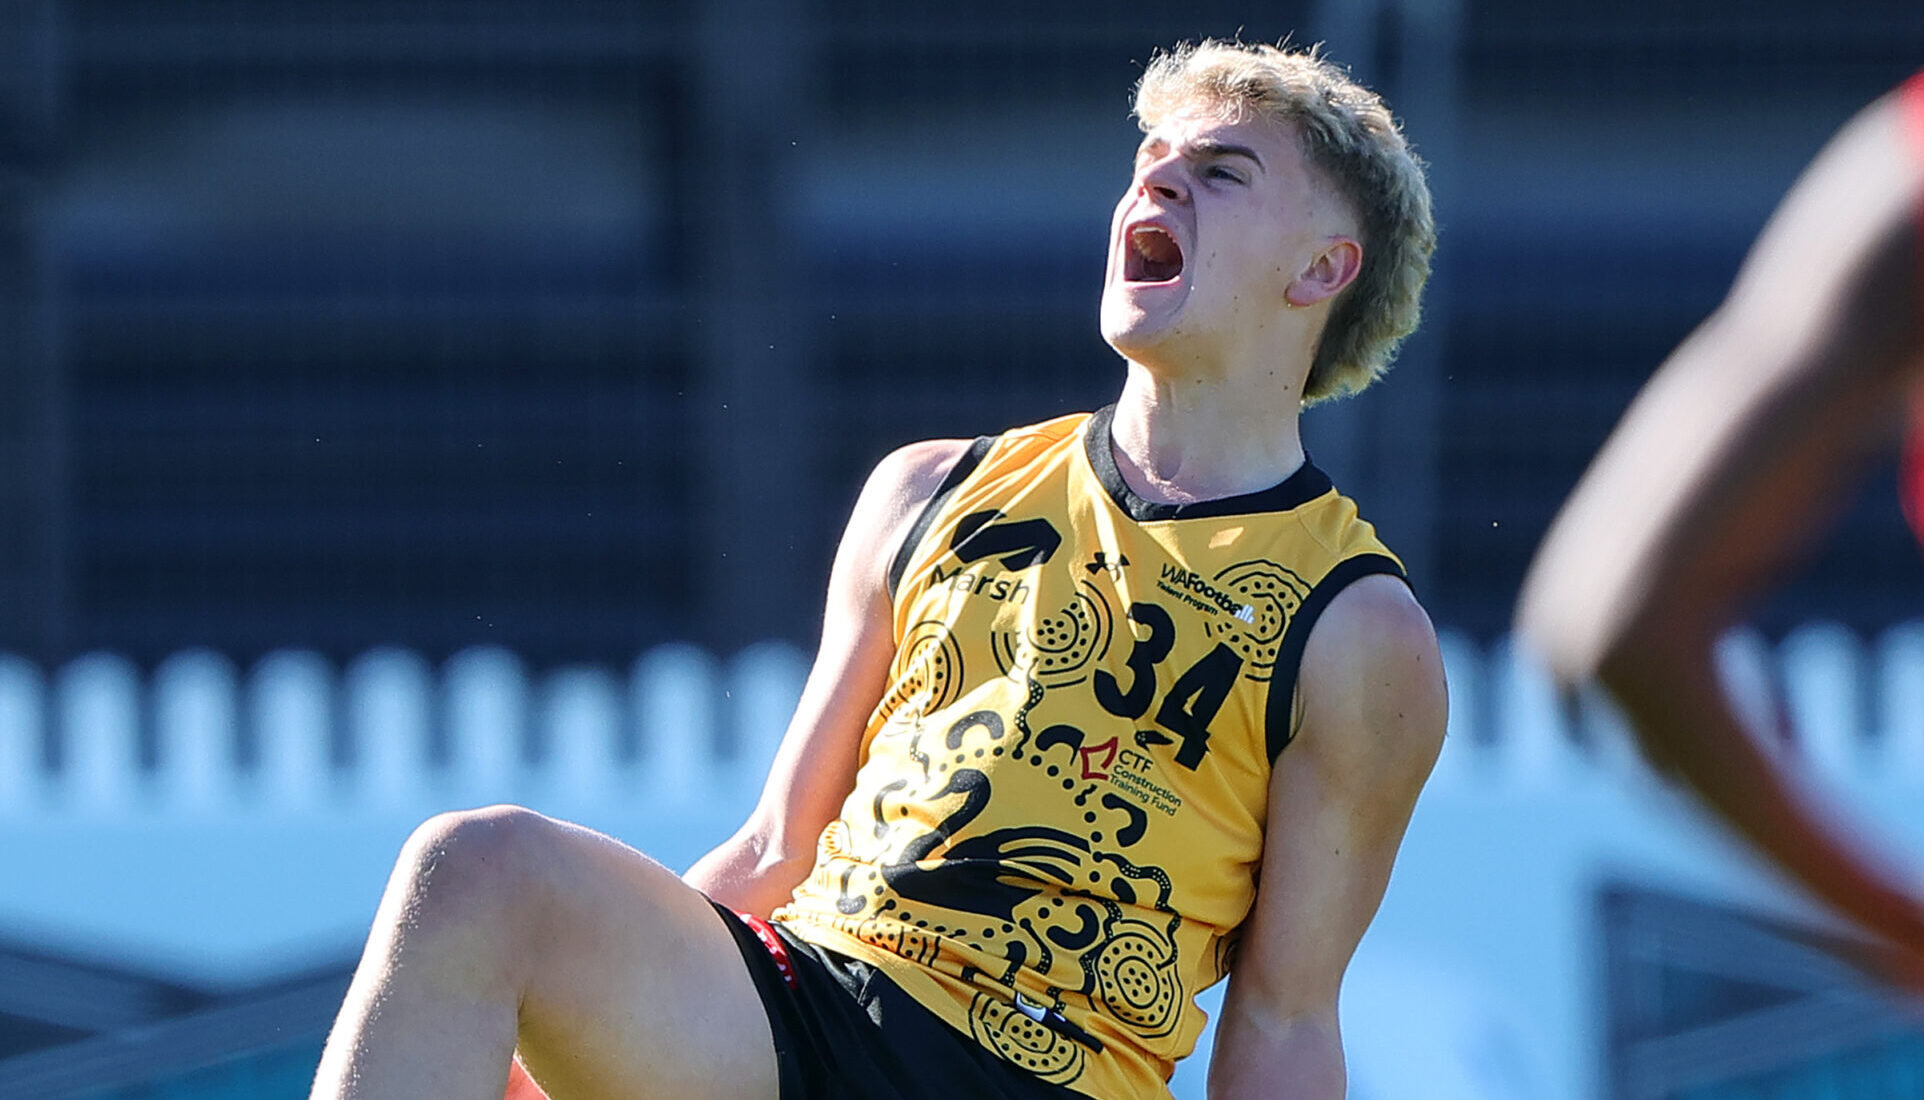
Good Evans! Souths teen becomes latest AFLW signingJuly 24, 2026
South Fremantle teenager Madi Evans has become the latest ATCO WAFLW talent snapped up by an AFLW club.
The 19-year-old has...
Jordan McArdle


Item 1 of 9